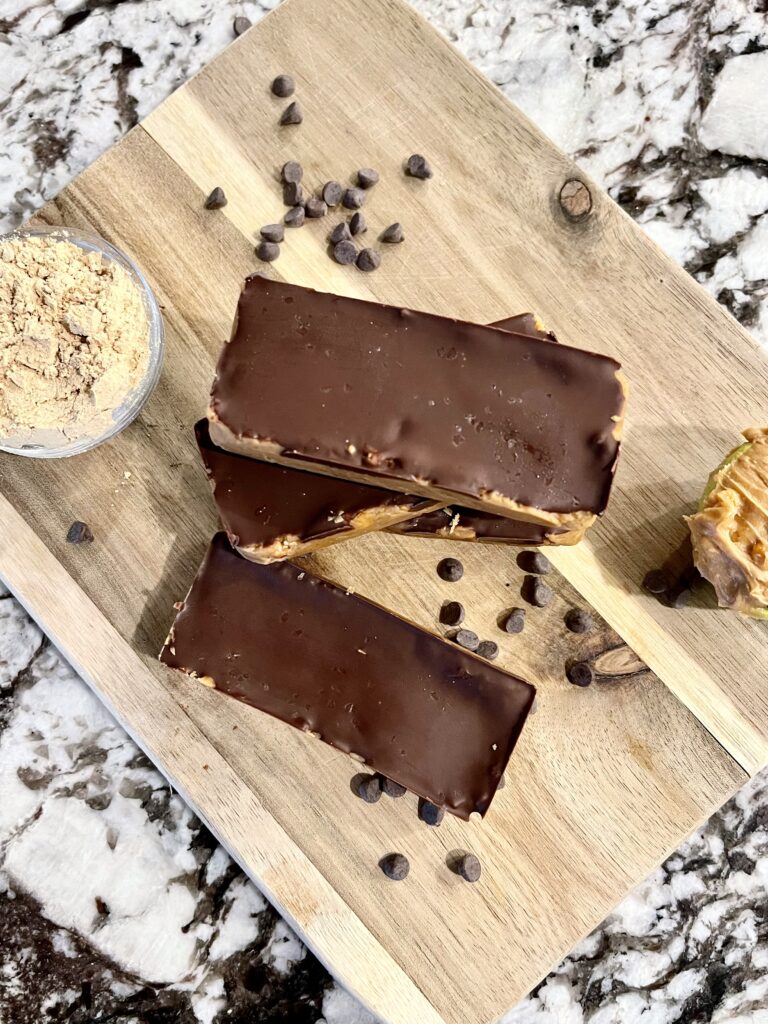
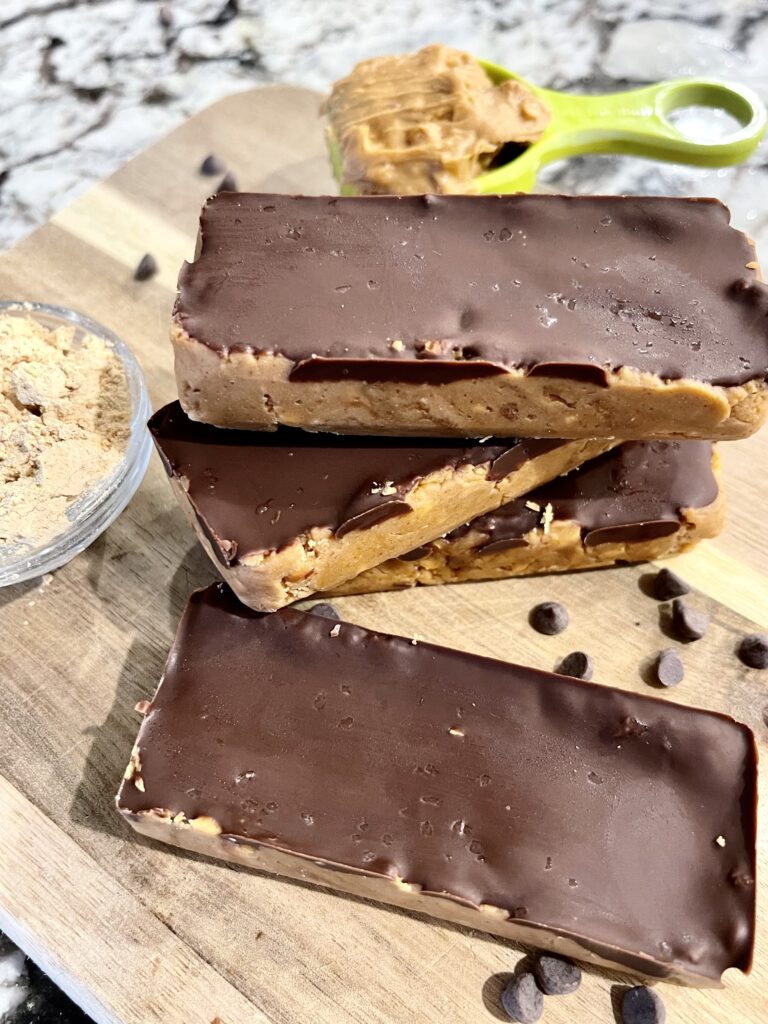
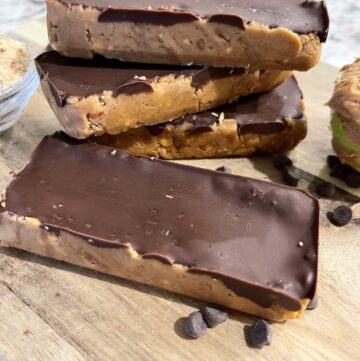
Chocolate Peanut Butter Protein Bar Recipe (gluten free, dairy free)

I love Perfect Bars. They are my absolute favorite, but the cost keeps going up and it’s getting harder to work them into my grocery budget. So I decided to make my own chocolate peanut butter protein bar recipe, and I am OBSESSED! You can make several batches for a lot cheaper than store-bought protein bars. Oh and did I mention they taste like a Reese’s peanut butter cup!
The next time you want to satisfy your sweet tooth without derailing your weight loss goals, make these homemade peanut butter protein bars! Making your own bars is a more budget friendly option, and they taste amazing too. In fact, these are the best homemade protein bars you’ll ever eat! And they’re the perfect healthy snack to keep your blood sugar stable all morning.
Ingredients you need to make this homemade protein bar recipe:
Natural peanut butter: creamy peanut butter and crunchy peanut butter are both great options for this chocolate peanut butter protein bar recipe. If using a drippy peanut butter, you may need to add more peanut butter powder to the mixture to get the right consistency. The consistency should be like raw cookie dough. Almond butter is a great substitute if you have a peanut allergy. In fact, any nut or seed butter you love can be used in place of the peanut butter.
Maple syrup: honey is another natural sweetener that works great in this recipe. Even brown rice syrup would work well and offer a subtle sweetness.
Peanut butter powder: I use PBFit because it’s sweetened with coconut sugar instead of refined cane sugar. If you have a peanut allergy, you probably won’t be looking at this recipe, but if you are, you can sub your favorite protein powder in place of the PBFit.
Chocolate chips: use your favorite chocolate for this recipe. I use Enjoy Life mini chocolate chips because they’re dairy free. Hu is also dairy free and uses dates as a sweetener instead of refined sugar. Melt your favorite chocolate bar instead of using chips. It’s all personal preference here. Choose a vegan chocolate to make vegan protein bars. You get the gist!
Coconut oil: keep in mind that refined coconut oil doesn’t taste like coconut, while unrefined does. You can leave the oil out altogether, but it does help the chocolate to harden.
Vanilla extract: not necessary but it adds a nice flavor.
Flaky sea salt: this ingredient is optional, but I don’t recommend skipping it because the sweet and salty mix is just too good.
Ingredient amounts are listed in recipe card below.
How to make your own protein bars:
This recipe is for no bake chocolate peanut butter protein bars, and they’re quick and easy to make.
Line an 8×8 baking dish with parchment paper.
In a medium bowl, add peanut butter, peanut butter powder, maple syrup, and vanilla, and stir to combine.
Press peanut butter mixture into an even layer in bottom of baking dish.
In a separate bowl, melt chocolate chips and coconut oil together at 30 second intervals until melted (takes about 1-1.5 minutes).
Pour melted chocolate over peanut butter mixture and spread into an even layer.
Top with flaky sea salt.
Place baking dish in fridge to harden for at least one hour and then lift the parchment paper and place it on a cutting board to cut into 9 equal sized bars.
Can you freeze chocolate peanut butter protein bars?
When you make your own bars, they don’t last as long as the ones from the grocery store. Store protein bars in an airtight container in the fridge for up to 3 to 5 days. They keep in the freezer for up to 3 months. I love keeping these in the freezer for a quick breakfast or easy snack.
Variations
To make them taste like cookie dough, add vanilla protein powder in place of the peanut butter powder, and stir mini chocolate chips into the mixture rather than pouring melted chocolate over top.
For chocolate protein bars, add chocolate protein powder in place of the peanut butter powder.
Omit the chocolate to make a bar that tastes like peanut butter fudge or a peanut butter cookie.
My favorite protein powders are Truvani and Juice Plus Complete. I’ve also heard great things about FlavCity Protein, but haven’t tried it myself yet. And FlavCity is a whey protein powder, so I don’t recommend this if you can’t have dairy for health reasons. Truvani is made with pea protein, and Juice Plus is made with soy protein. There are a lot of great protein options you can use to change the flavor of these easy peanut butter protein bars.
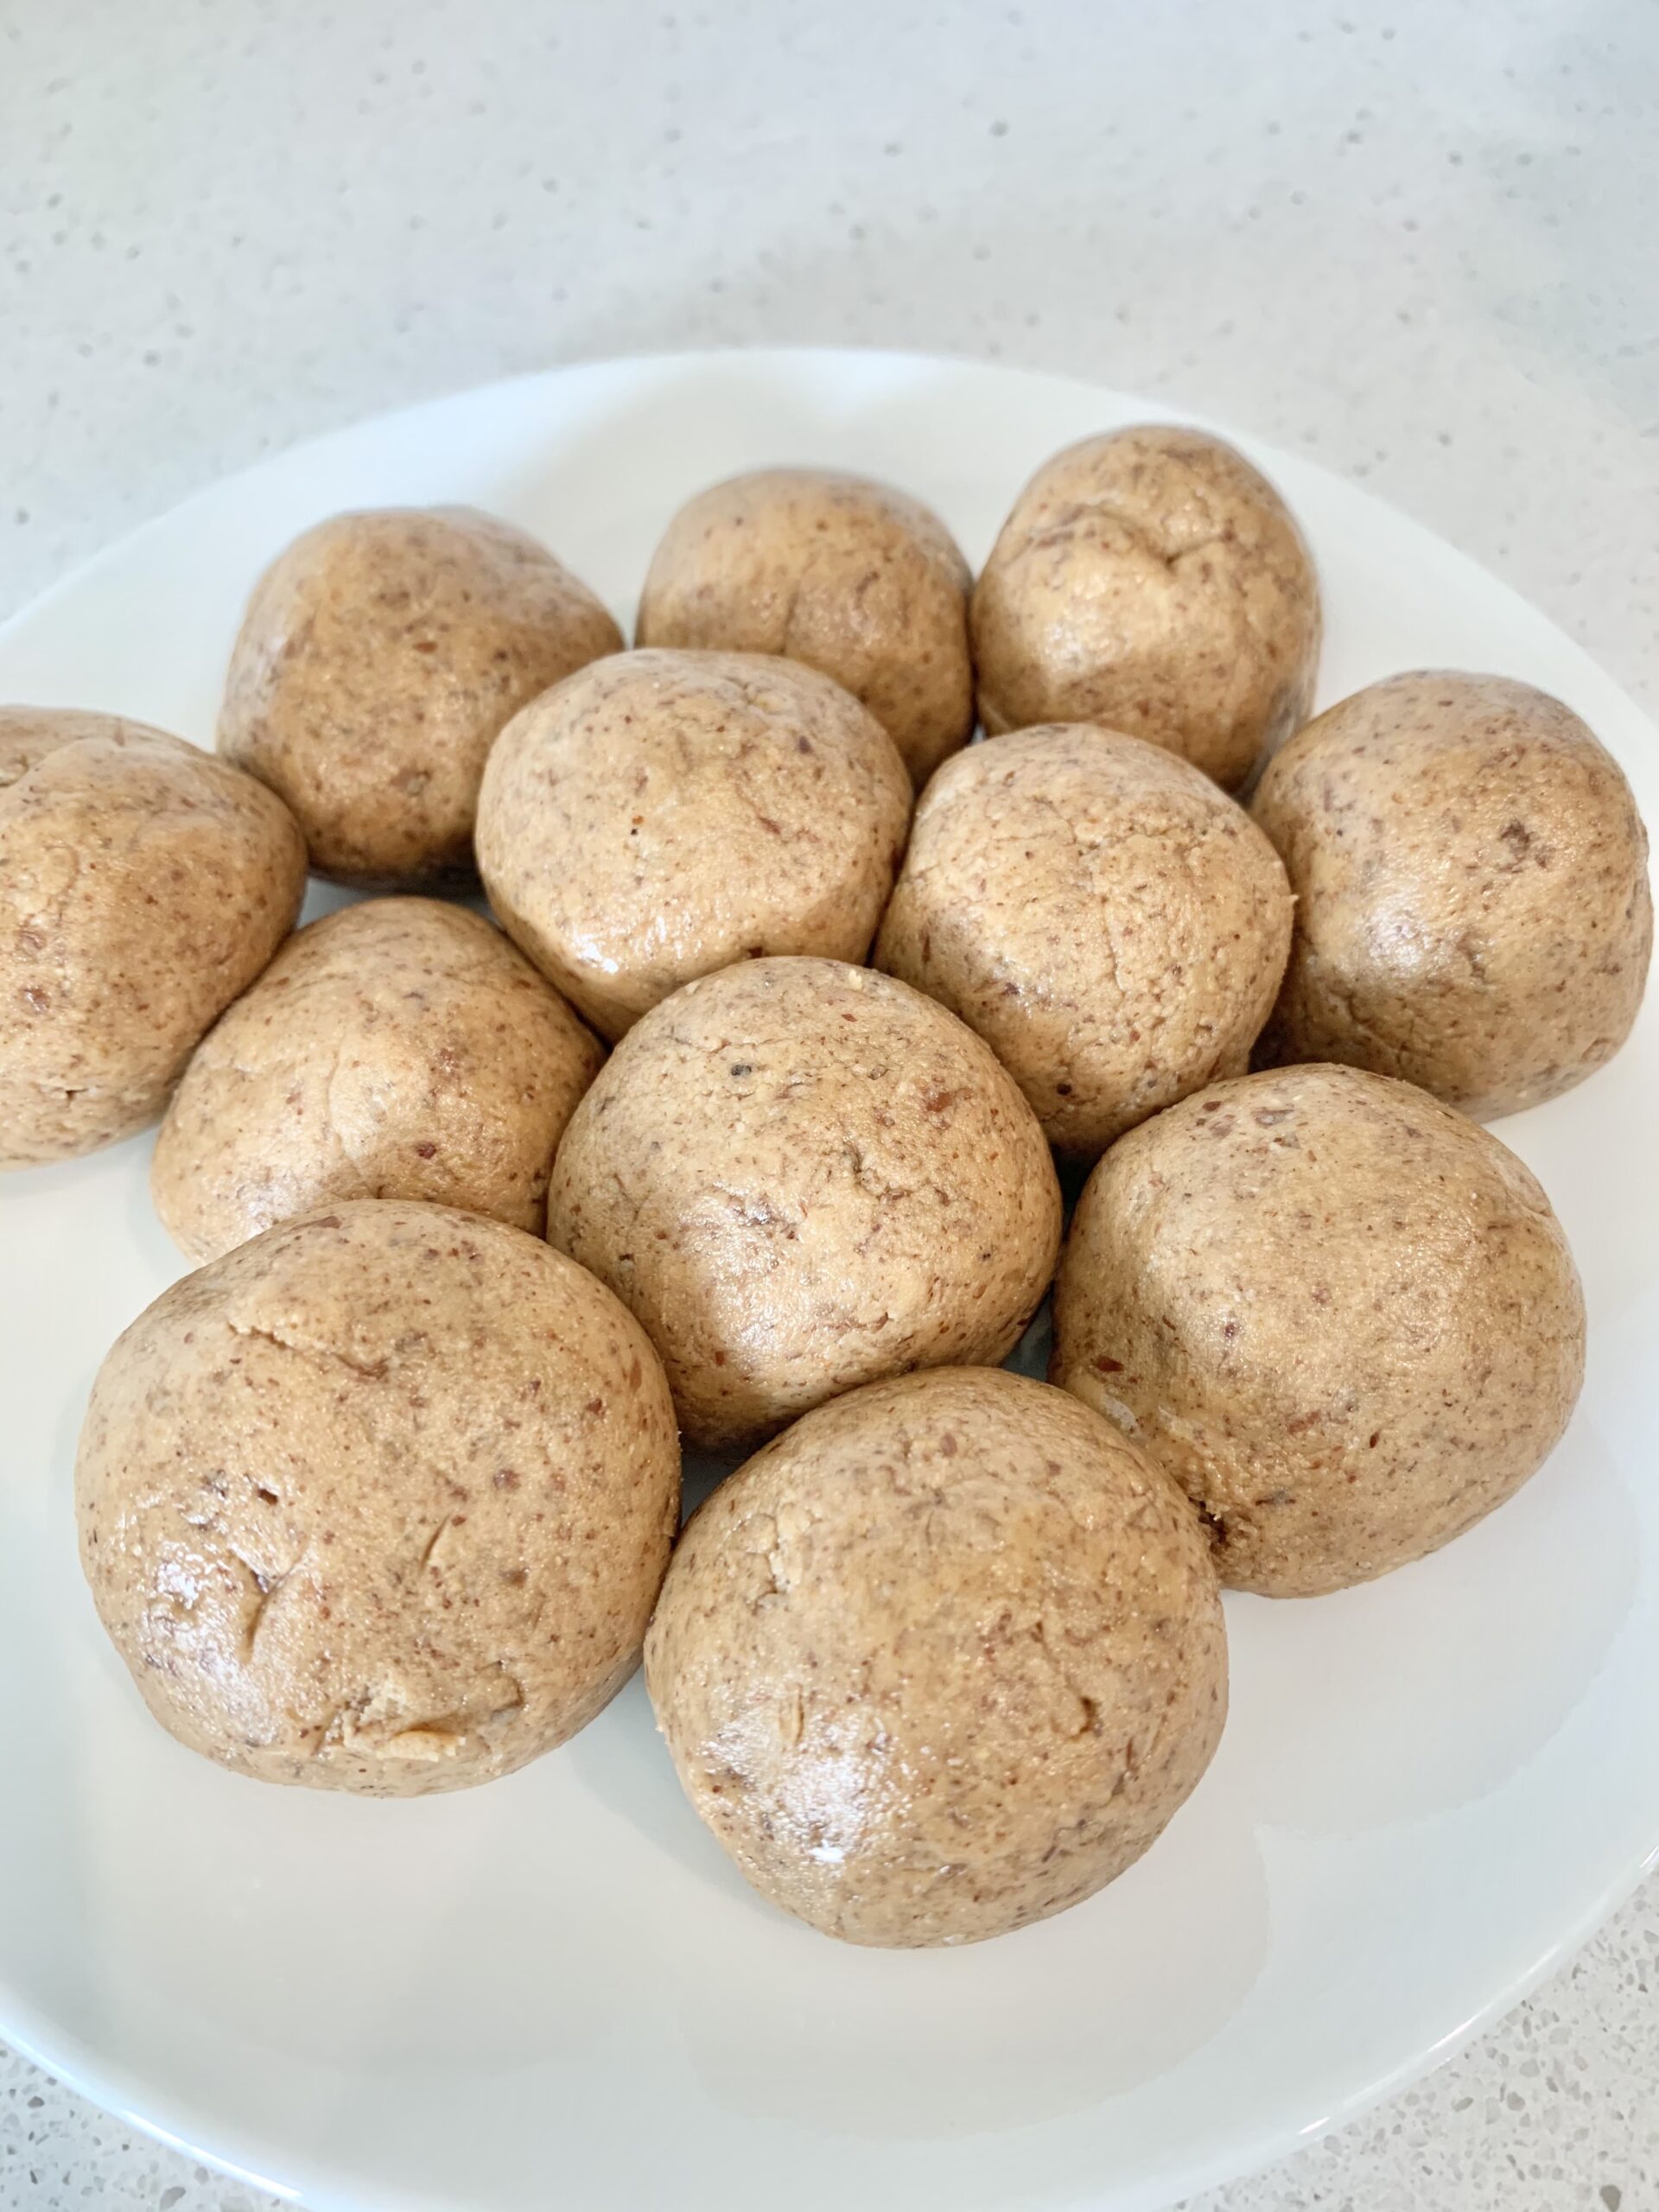
Another good idea is to use this recipe to make peanut butter protein balls! Just scoop 1 tablespoon of the mixture at a time and roll into a ball, then coat with melted chocolate and place in fridge to harden on a baking sheet lined with parchment paper.
These homemade bars have a nice chewy texture, they’re full of healthy fats, and boasts about 12 grams of protein, which is very similar to the Perfect Protein Bar I was eating daily but can no longer fit into my grocery budget.
More yummy protein bites to try:
Gluten Free Cookie Dough Energy Bites
Chocolate Peanut Butter Protein Bar Recipe (gluten free, dairy free)
Ingredients
- 1 cup peanut butter creamy or crunchy
- 1/2 cup peanut butter powder I use PBFit
- 1/4 cup maple syrup or honey
- 1 teaspoon vanilla extract
- 1/2 cup mini chocolate chips
- 1 teaspoon coconut oil refined doesn't taste like coconut
- flaky sea salt for topping
Instructions
- Line an 8×8 baking dish with parchment paper.
- In a medium bowl, add peanut butter, peanut butter powder, maple syrup, and vanilla, and stir to combine.
- Press peanut butter mixture into an even layer in bottom of baking dish.
- In a separate bowl, melt chocolate chips and coconut oil together at 30 second intervals until melted (takes about 1-1.5 minutes).
- Pour melted chocolate over peanut butter mixture and spread into an even layer.
- Place baking dish in fridge to harden for at least one hour and then lift the parchment paper and place it on a cutting board to cut into 9 equal sized bars.
Nutrition
Join My Gluten-Free Kitchen Crew
Get my favorite gluten-free recipes, tips, and grocery store finds delivered right to your inbox! Just pop your email below, and let’s start cooking up some magic together!