Soft Gluten Free Sandwich Bread (High-Protein, Wheat-Free, and Perfect for Toast)

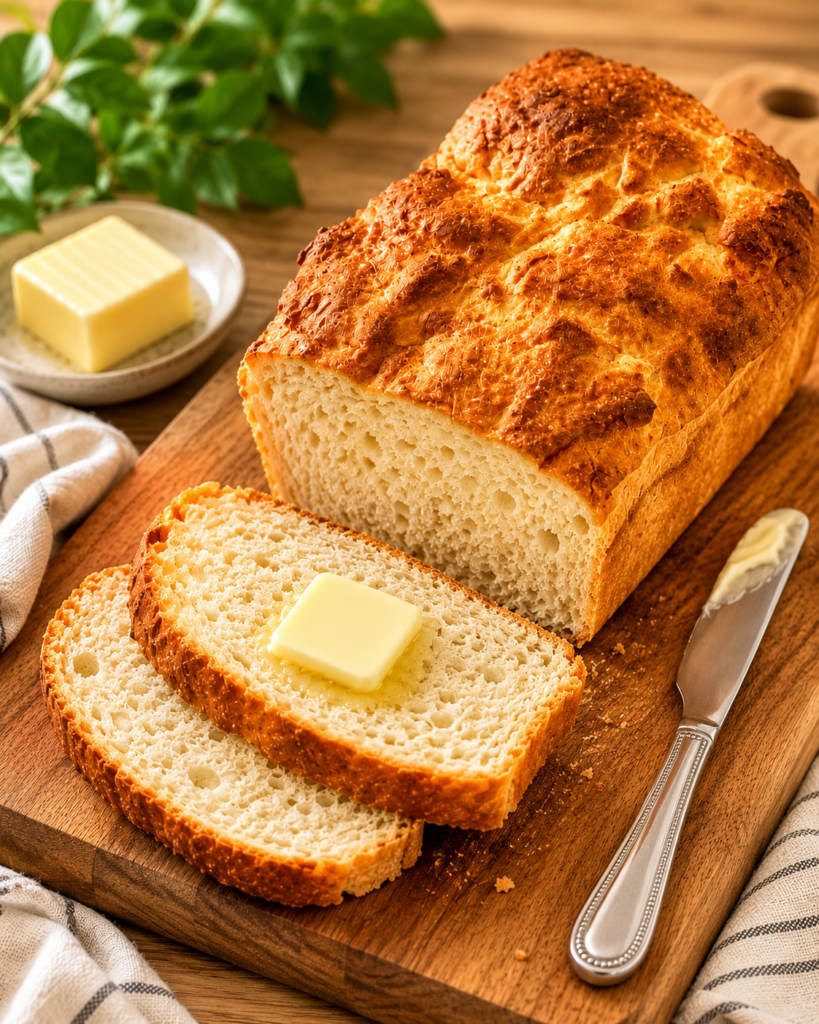
If you’ve been searching for a gluten free sandwich bread that is soft, sliceable, and doesn’t crumble apart the second you look at it, you’ve come to the right place.
After years of gluten-free baking, I’ve tested countless recipes that promised bakery-style results but delivered dense, dry loaves instead. Some were too gummy, some tasted like cardboard, and many fell apart before they even made it to the sandwich stage.
This homemade gluten-free sandwich bread is different.
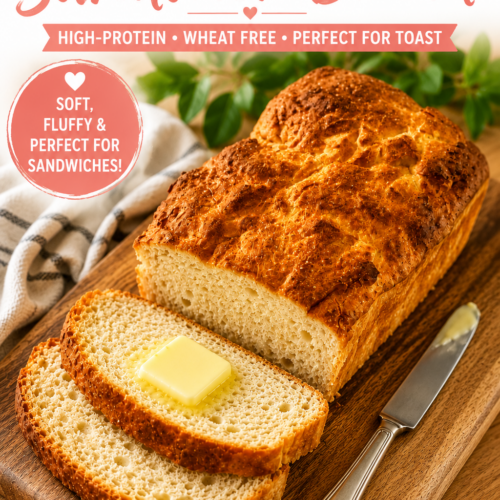
Made with my High-Protein Gluten Free Bread Flour Blend, psyllium husk, yeast, eggs, and a few simple pantry ingredients, this loaf bakes up soft, fluffy, and sturdy enough for sandwiches, toast, grilled cheese, and French toast.
Even better, unlike many commercial gluten-free bread recipes, this loaf is completely wheat-free. That means no wheat starch, making it a great option for those with celiac disease, wheat allergies, or anyone who prefers to avoid wheat-derived ingredients.
If you’ve been missing real sandwich bread since going gluten-free, this recipe is about to become your new favorite.
Why You’ll Love This Gluten-Free Sandwich Bread
- Soft and fluffy texture
- Doesn’t crumble apart
- Perfect for sandwiches and toast
- Higher in protein than most gluten-free breads
- Completely wheat-free
- Made with simple ingredients
- Freezer-friendly
- Great for meal prep
- Easy to customize
The Secret to Better Gluten Free Bread
The foundation of this recipe is my homemade High-Protein Gluten-Free Bread Flour Blend.
Unlike many gluten-free flour blends that rely heavily on starches, this blend contains extra whey protein isolate to improve rise, texture, and structure.
The combination of protein, xanthan gum, and psyllium husk helps create a loaf that is soft and flexible rather than dense and crumbly.
If you haven’t made the flour blend yet, be sure to start with my Homemade Gluten-Free Bread Flour Blend recipe. It only takes a few minutes to mix together and can be used for bread, pizza dough, rolls, cinnamon rolls, and more.
Why Psyllium Husk Is So Important
If you’re new to gluten-free bread baking, psyllium husk may seem like an unusual ingredient.
However, psyllium husk is one of the best tools for creating gluten-free bread that behaves more like traditional wheat bread.
When mixed with liquid, psyllium husk forms a gel that helps:
- Improve elasticity
- Hold moisture
- Reduce crumbling
- Improve structure
- Create a softer crumb
Think of psyllium husk as one of the ingredients that helps replace what gluten normally does in traditional bread.
Soft Gluten Free Sandwich Bread Recipe
Ingredients
Dry Ingredients
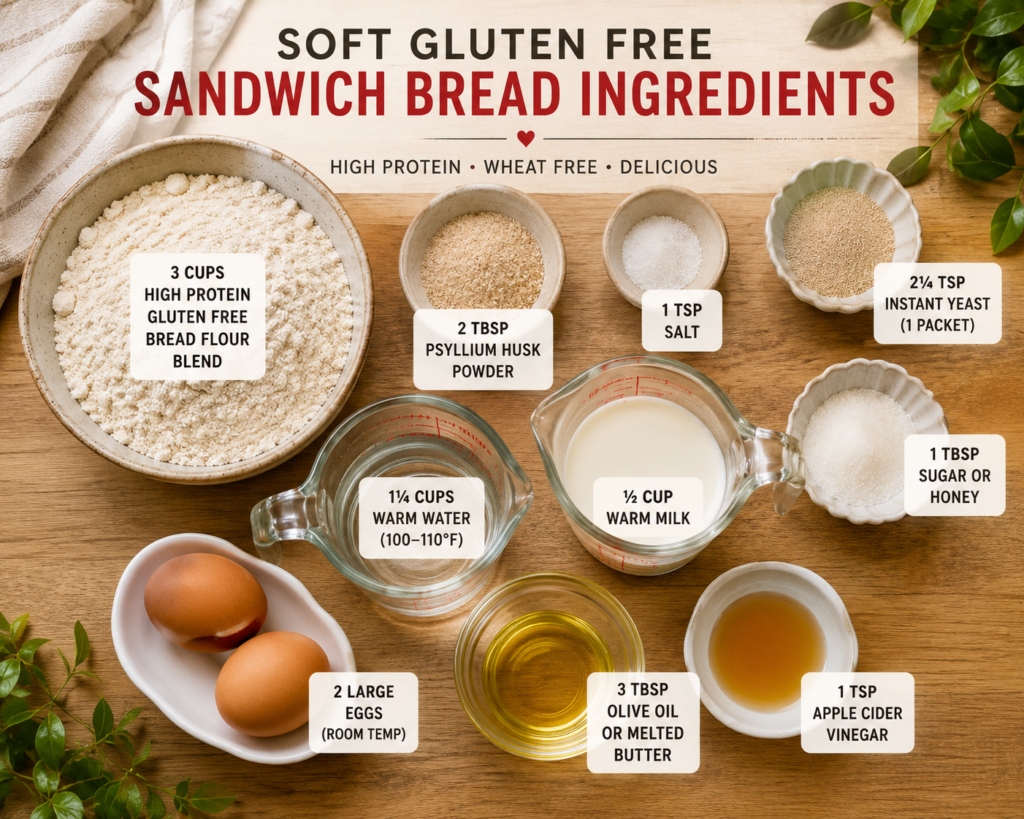
- 3 cups High-Protein Gluten Free Bread Flour Blend
- 2 tablespoons psyllium husk powder
- 1 teaspoon salt
- 2¼ teaspoons instant yeast (1 packet)
- 1 tablespoon sugar or honey
Wet Ingredients
- 1¼ cups warm water (100–110°F)
- ½ cup warm milk
- 2 large eggs, room temperature
- 3 tablespoons olive oil or melted butter
- 1 teaspoon apple cider vinegar
Instructions
Step 1: Prepare the Psyllium Gel
In a medium bowl, whisk together the warm water, warm milk, and psyllium husk powder.
Allow the mixture to sit for 2 to 3 minutes until it thickens into a gel-like consistency.
Step 2: Mix the Dough
In the bowl of a stand mixer, combine:
- Gluten-free bread flour blend
- Salt
- Yeast
- Sugar
Add the psyllium gel, eggs, oil, and apple cider vinegar.
Mix on medium speed for 5 to 7 minutes.
The dough should resemble very thick mashed potatoes or a sticky bread dough.
Step 3: First Rise
Grease a standard 9×5-inch loaf pan.
Transfer the dough into the prepared pan and smooth the top with wet fingers or a spatula.
Cover loosely with plastic wrap or a clean kitchen towel.
Allow the dough to rise in a warm location for 45 to 60 minutes, or until it rises about 1 inch above the rim of the pan.
Step 4: Bake
Preheat your oven to 375°F.
Bake for 40 to 45 minutes.
If the top begins browning too quickly, loosely tent with aluminum foil during the final 15 minutes of baking.
The bread is done when it reaches an internal temperature of approximately 205°F.
Step 5: Cool Completely
Remove the loaf from the pan immediately after baking.
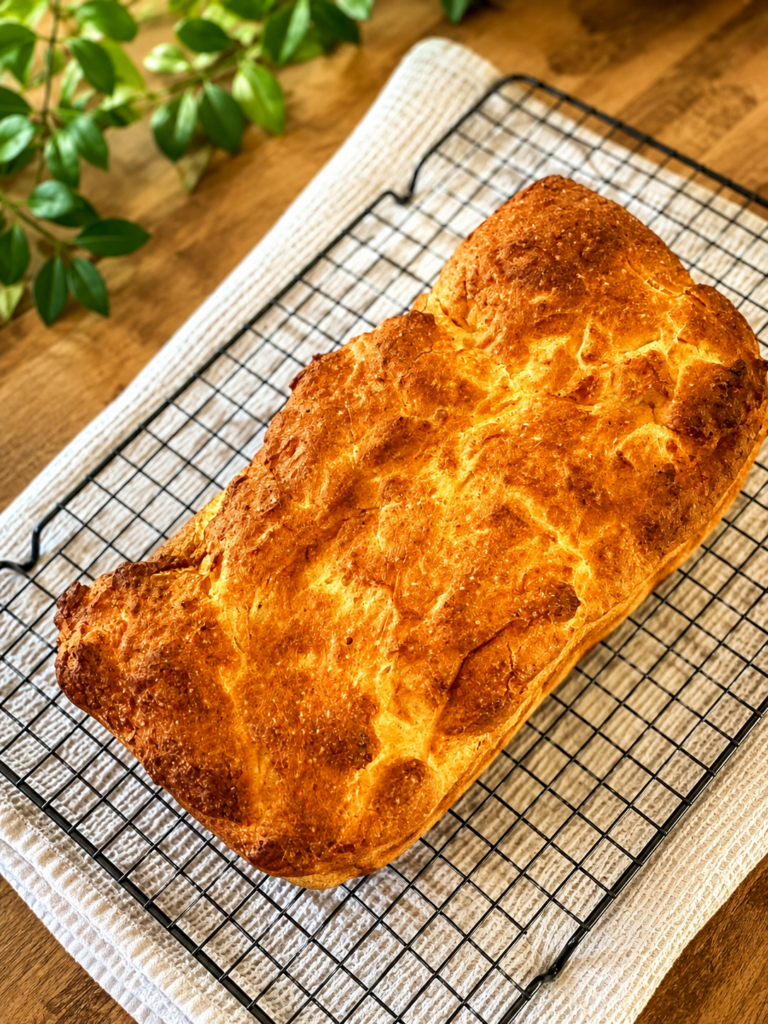
Allow the bread to cool completely on a wire rack before slicing.
I know it’s tempting, but cutting into warm gluten free bread often leads to a gummy texture.
Tips for Success
Don’t Skip the Cooling Time
Gluten-free bread continues to set as it cools. Waiting at least two hours before slicing will give you the best texture.
Use Room Temperature Eggs
Room temperature ingredients mix more evenly and can help improve rise.
Measure Flour Carefully
For the most accurate results, use a kitchen scale whenever possible.
Use Fresh Yeast
Old yeast is one of the most common reasons homemade bread fails to rise properly.
Ways to Use This Bread
Sandwiches
This bread was designed specifically for sandwiches. It holds up well to fillings without falling apart.
Toast
Lightly toasted with butter is my personal favorite way to enjoy this bread.
Grilled Cheese
Because the loaf has better structure than many gluten-free breads, it works beautifully for grilled cheese sandwiches.
French Toast
The sturdy crumb absorbs custard without becoming mushy.
Avocado Toast
A thick toasted slice topped with avocado, eggs, and everything bagel seasoning makes a delicious high-protein breakfast.
Storage Instructions
Counter
Store in an airtight container for up to 3 days.
Refrigerator
Store for up to 1 week.
Freezer
Slice the loaf before freezing and store in a freezer-safe bag for up to 3 months.
Simply remove individual slices as needed and toast directly from frozen.
Nutrition Information
Yield: 12 slices
Serving Size: 1 slice
Approximate Nutrition Per Slice:
- Calories: 190
- Protein: 8g
- Carbohydrates: 29g
- Fat: 4g
Nutrition values are estimates and will vary depending on ingredient brands used.
Frequently Asked Questions
Is this bread safe for celiac disease?
Yes, provided all ingredients are certified gluten free and sourced from reputable manufacturers.
Does this bread contain wheat starch?
No. Unlike some commercial gluten free bread flours, this recipe contains no wheat starch or wheat-derived ingredients.
Can I make this dairy-free?
Because the flour blend relies on whey protein isolate, this recipe is not dairy free. Additional testing would be needed to substitute another protein source.
Can I use this recipe for rolls?
Absolutely. The dough works well for dinner rolls, hamburger buns, and sandwich rolls.
Can I make pizza dough with this flour blend?
Yes! In fact, this flour blend was specifically designed to work for both sandwich bread and homemade gluten free pizza dough.
Final Thoughts
Good gluten free bread shouldn’t be hard to find.
This soft gluten free sandwich bread is everything I’ve been looking for in a homemade loaf: soft, fluffy, sturdy enough for sandwiches, and completely wheat-free.
Thanks to the combination of psyllium husk and my High Protein Gluten Free Bread Flour Blend, this loaf delivers the texture and structure that many gluten-free breads are missing.
Whether you’re making school lunches, avocado toast, grilled cheese, or simply enjoying a warm slice with butter, this bread is one recipe you’ll come back to again and again.
The Best Soft Gluten Free Sandwich Bread
Equipment
- Stand Mixer
- 9×5 Loaf Pan
- Cooling Rack
Ingredients
Dry Ingredients
- 3 cups High Protein Gluten Free Bread Flour Blend
- 2 tablespoons psyllium husk powder
- 1 teaspoon salt
- 2¼ teaspoons instant yeast 1 packet
- 1 tablespoon sugar or honey
Wet Ingredients
- 1¼ cups warm water 100–110°F
- ½ cup warm milk
- 2 large eggs room temperature
- 3 tablespoons olive oil or melted butter
- 1 teaspoon apple cider vinegar
Instructions
- In a medium bowl, whisk together the warm water, warm milk, and psyllium husk powder. Let stand for 2–3 minutes until a thick gel forms.
- In the bowl of a stand mixer, combine the High Protein Gluten Free Bread Flour Blend, salt, yeast, and sugar.
- Add the psyllium gel, eggs, olive oil, and apple cider vinegar.
- Mix on low speed for 1 minute, then increase to medium speed and mix for 5–7 minutes until the dough resembles thick mashed potatoes or a sticky bread dough.
- Grease a 9×5-inch loaf pan.
- Transfer the dough into the prepared pan and smooth the top with wet fingers or a spatula.
- Cover loosely with plastic wrap or a clean kitchen towel and allow the dough to rise in a warm place for 45–60 minutes, or until it rises approximately 1 inch above the rim of the pan.
- Preheat the oven to 375°F.
- Bake for 40–45 minutes. If the loaf browns too quickly, loosely tent with foil during the last 15 minutes.
- The bread is done when the internal temperature reaches approximately 205°F.
- Remove the loaf from the pan immediately and transfer to a wire rack.
- Cool completely before slicing.
Notes
Notes
- For best results, weigh your flour whenever possible.
- Do not skip the psyllium husk. It provides elasticity and helps replace the structure normally created by gluten.
- Allow the bread to cool completely before slicing to prevent a gummy interior.
- This recipe was developed using my High Protein Gluten Free Bread Flour Blend.
- Store leftovers in an airtight container or freeze sliced for easy use.
Nutrition
Yield: 1 loaf Servings: 12 slices Serving Size: 1 slice Approximate nutrition per serving:- Calories: 190
- Carbohydrates: 29g
- Protein: 8g
- Fat: 4g
- Saturated Fat: 1g
- Cholesterol: 35mg
- Sodium: 240mg
- Fiber: 2g
- Sugar: 3g
Join My Gluten-Free Kitchen Crew
Get my favorite gluten-free recipes, tips, and grocery store finds delivered right to your inbox! Just pop your email below, and let’s start cooking up some magic together!