Spooky Monster Bark: Easy Halloween Chocolate Bark

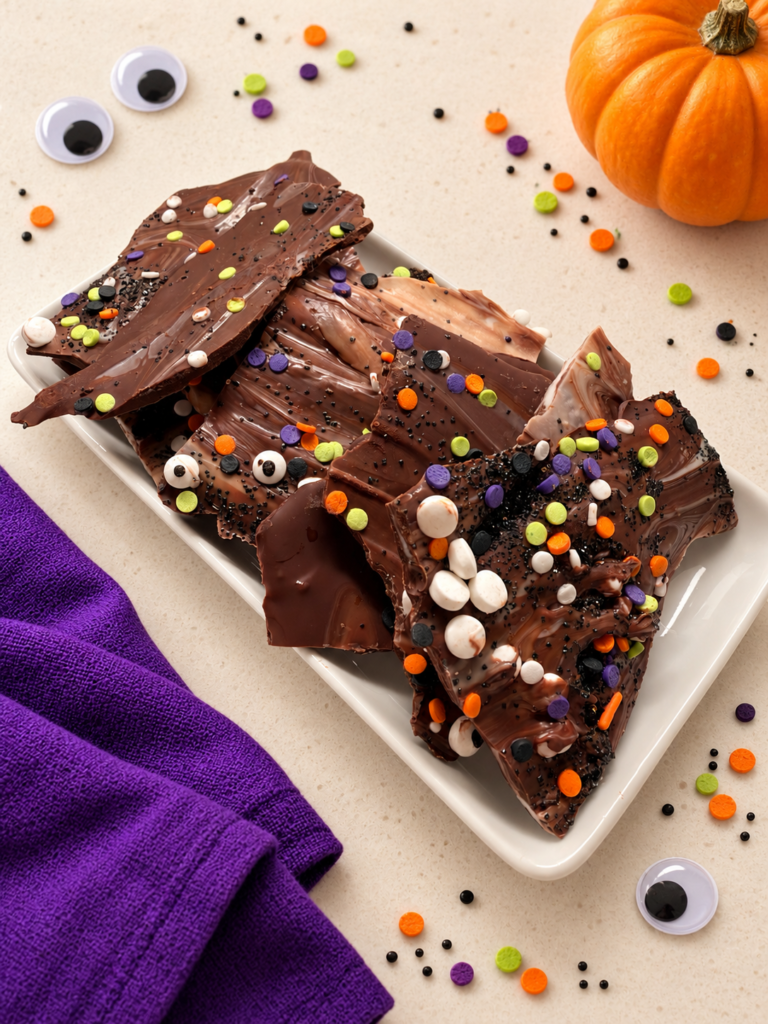
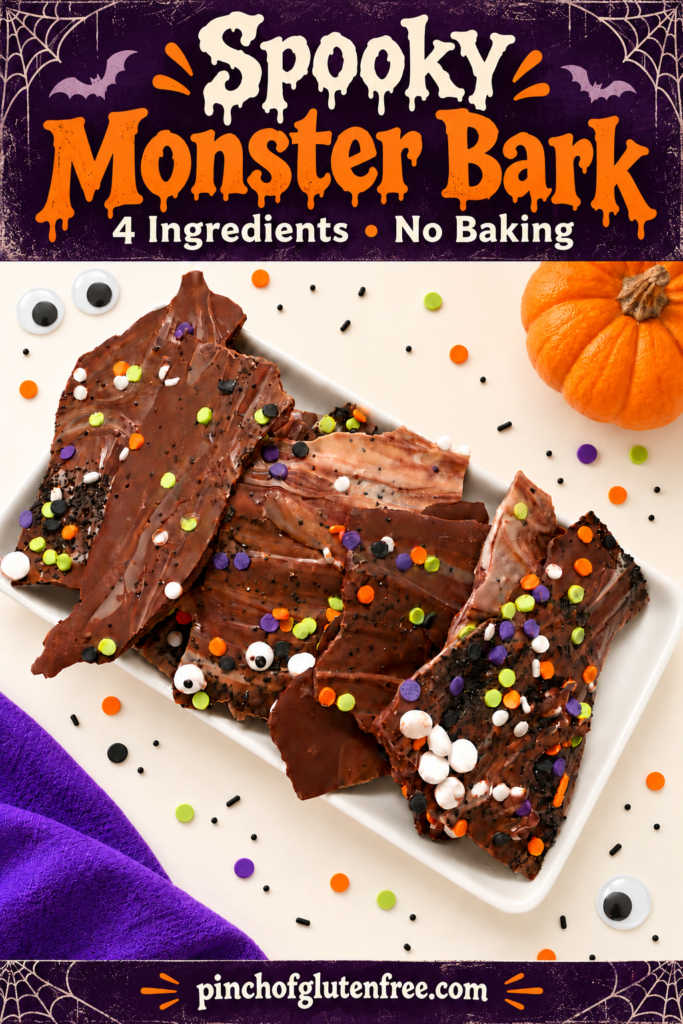
Spooky monster bark is the kind of Halloween treat that looks festive without taking over your afternoon. Swirls of semi-sweet and white chocolate create a fun background for colorful Halloween sprinkles and edible googly eyes. Every broken piece becomes its own silly little monster, and the decorating is easy enough for kids to help.
This easy Halloween chocolate bark uses just four ingredients and requires no baking. Melt the chocolate, swirl the two colors together, add your decorations, and let everything set. That is all it takes to make a shareable treat for a Halloween movie night, party dessert table, or an afternoon in the kitchen with your kids.
If you love simple seasonal recipes, this spooky monster bark deserves a spot on your Halloween list. It is playful, chocolatey,. Your monsters can have one eye, three eyes, or an entire crowd of eyes. The sillier they look, the better!
Why You Will Love This Halloween Bark
You do not need special molds, piping bags, or fancy decorating skills to make this recipe. A baking sheet, parchment paper, microwave-safe bowls, and a toothpick are enough to get started.
The chocolate swirl pattern makes each batch look a little different. Semi-sweet chocolate balances the sweeter white chocolate, while sprinkles add color and a little crunch. Edible eyes turn an ordinary sheet of chocolate into something that feels made for spooky season.
It is also an easy recipe to prepare ahead. Make the bark before your gathering, let it set completely, and break it into pieces when you are ready to serve.
Ingredients for Spooky Monster Bark
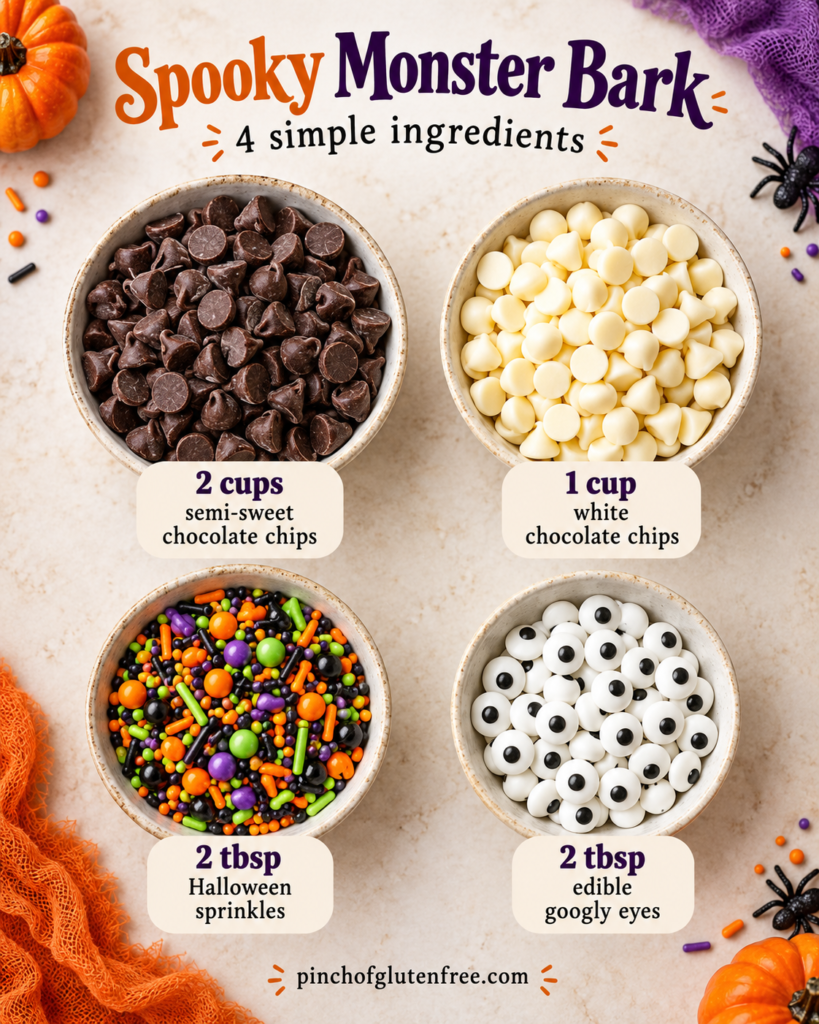
These suggested quantities make one medium sheet of bark, or approximately 16 pieces, depending on how you break it.
- 2 cups semi-sweet chocolate chips: These form the darker chocolate base. Choose a brand you enjoy eating because chocolate is the main flavor.
- 1 cup white chocolate chips: Melt these separately to create the contrasting swirls throughout the bark.
- 2 tablespoons Halloween sprinkles: Orange, purple, green, and black sprinkles make the chocolate look extra festive.
- 2 tablespoons edible googly eyes: Use different sizes if you want a mix of silly monster faces.
You can adjust the sprinkles and eyes to suit your decorating style. Scatter them lightly, or group the eyes together to create individual monsters.
Making Gluten Free Monster Bark
To make this a gluten free Halloween treat, check every ingredient, including the sprinkles and edible eyes. Decorations can contain ingredients or carry cross-contact warnings that vary by brand. Choose products labeled gluten-free that meet your household’s needs, and use clean bowls, utensils, and preparation surfaces.
Do not assume that every package of candy eyes or seasonal sprinkles is gluten-free simply because it looks similar to another product.
How to Make Spooky Monster Bark
1. Prepare your baking sheet
Line a rimmed baking sheet with parchment paper. Set out your sprinkles and edible eyes before melting the chocolate so everything is ready when you need it.
You will spread the chocolate into an approximately 9-by-12-inch rectangle. It does not need to reach the edges of the baking sheet, and the outline does not need to be perfectly straight.
2. Melt the semi-sweet chocolate
Place the semi-sweet chocolate chips in a clean, dry microwave-safe bowl. Microwave for 30 seconds, then stir thoroughly.
Continue heating in short intervals, stirring between each one. As the chocolate becomes mostly melted, reduce the intervals to 15 seconds. Stop heating when only a few small pieces remain, and stir until smooth.
Avoid overheating the chocolate. It can look like it needs more time even when stirring will finish melting the remaining chips.
3. Melt the white chocolate
Place the white chocolate chips in a separate clean, dry microwave-safe bowl. Heat in 15-second intervals, stirring well after each interval, until smooth.
White chocolate can scorch easily, so take your time. Keep water away from both bowls because even a small amount can cause melted chocolate to seize and become thick or grainy.
4. Spread and swirl
Pour the melted semi-sweet chocolate onto the parchment paper. Use a spatula to spread it into an even rectangle, approximately 1/4 inch thick.
Spoon small dollops of melted white chocolate across the surface. Drag a toothpick or skewer through the dollops in loose curves and gentle figure-eight motions.
For the prettiest swirl pattern, make just a few passes through each area. Stop while you can still clearly see both chocolate colors. Too much swirling blends them together and softens the contrast.
5. Decorate your monsters
While the chocolate is still soft, scatter Halloween sprinkles over the surface. Add edible googly eyes in little clusters, gently pressing them into the chocolate so they stay attached.
Try pairs of eyes in some spots and single oversized eyes in others. Leave a little space between clusters so you can break the bark around the faces once it has set.
6. Chill and break
Refrigerate the baking sheet for approximately 30 to 45 minutes, or until the chocolate is completely firm. Thicker bark may need longer.
Lift the bark from the parchment paper and break it into irregular pieces. Aim for a monster face on each piece, but do not worry about making them identical.
Tips for a Beautiful Chocolate Swirl Pattern
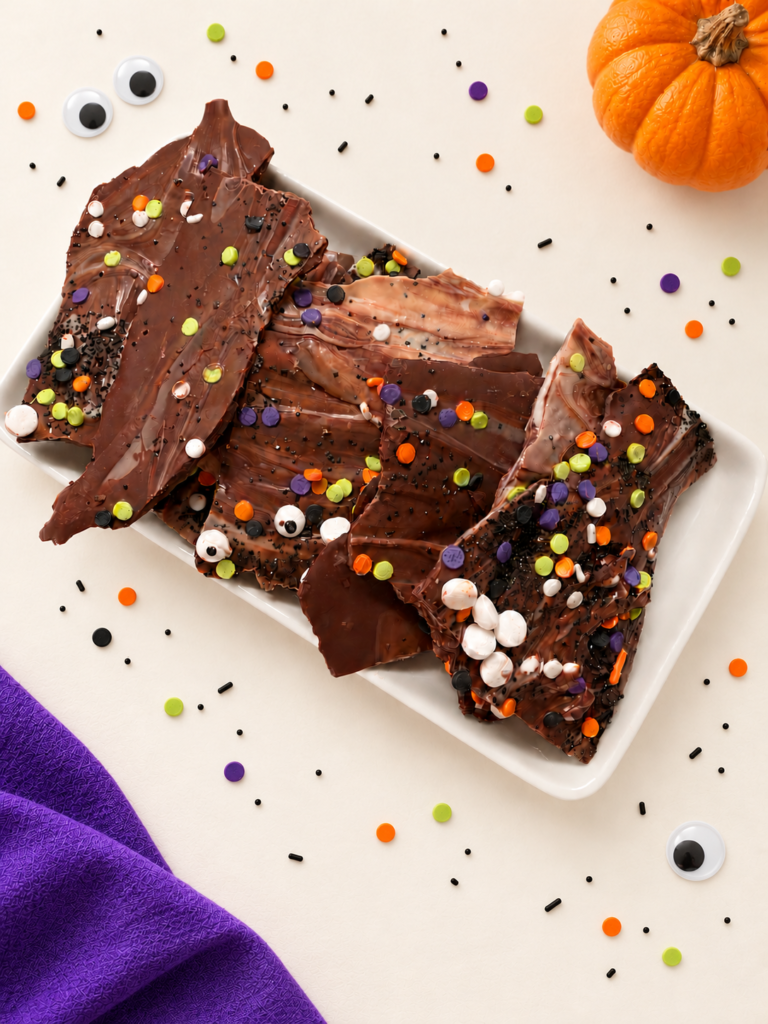
Have both chocolates melted before spreading the base. If the semi-sweet layer starts setting before you add the white chocolate, the colors will be harder to swirl.
Keep your toothpick movements shallow. You want to move through the chocolate without scraping the parchment underneath.
Spread the white chocolate dollops across the entire rectangle, including near the edges. This helps create a balanced pattern instead of leaving all the white chocolate in the middle.
Finally, remember that bark is supposed to look handmade. Uneven edges are part of its charm.
A Fun Halloween Kitchen Activity
This recipe is a addition to Shane’s Spooky Kitchen or any family Halloween baking afternoon, even though the oven stays off.
An adult can handle melting the chocolate and checking that bowls are safe to touch. Kids can help choose sprinkle colors, plan funny monster faces, and decorate once the chocolate has been spread.
Set the decorations to make the process easier. Give everyone a section of the bark to decorate, then see how many different monsters appear.
How to Store Monster Bark
Store fully set bark in an airtight container in the refrigerator for up to two weeks. Place parchment paper between layers to protect the decorations.
For serving, set out a small batch at a time if your room is warm. Chocolate made this way is not tempered, so it can soften in warm conditions.
If packaging pieces as gifts, let them firm completely first and keep them cool until gifting.
Frequently Asked Questions
Can I make monster bark ahead of time?
Yes. Make it a day or two before your celebration and refrigerate it in an airtight container until needed.
Why did my chocolate become thick?
Overheating or moisture can affect melted chocolate. Use dry equipment, short heating intervals, and frequent stirring for the smoothest results.
Can I use more white chocolate?
Yes. Adjust the chocolate ratio to your taste while keeping the total amount similar.
Save this spooky monster bark recipe for your next Halloween celebration, and visit pinchofglutenfree.com for more gluten-free recipes, seasonal treats, and easy ideas your family will love.
Join My Gluten-Free Kitchen Crew
Get my favorite gluten-free recipes, tips, and grocery store finds delivered right to your inbox! Just pop your email below, and let’s start cooking up some magic together!